Disinfection | Not just in the home!
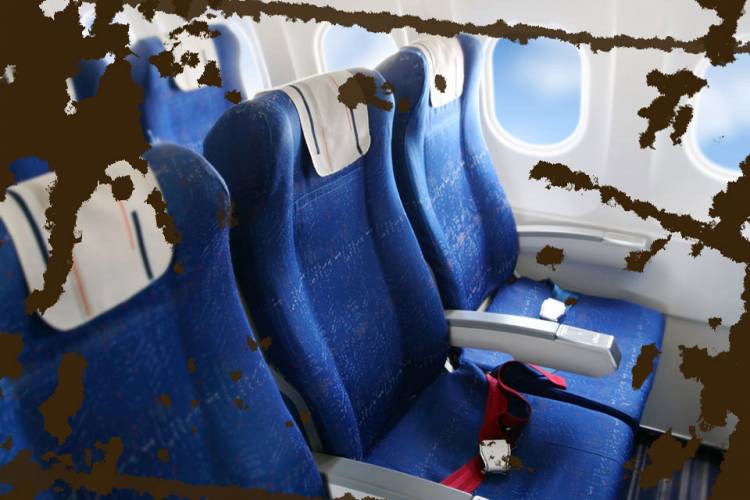
Imagine a petri-dish filled with bacteria, then add a recline function and limited legroom. Now you’re accurately imagining the typical airline seat. According to study after study, airplanes are filthy places and the average tray table, for instance, is exponentially more disgusting than a home toilet seat. Other top spots for airplane germs include seat-belt buckles, seat-back pockets, and the tops of seats (especially aisle seats, since countless people touch them for balance as they walk by in flight each day).
But take heart, germaphobes—and anyone else who doesn’t want to spend their whole vacation hacking up a lung. There are small steps you can take that will make your assigned petri dish a little less squirmy. Here’s how to disinfect your airplane seat and boost your chances of an illness-free vacation.
A Step-by-Step Guide to Disinfecting Your Airplane Seat
With minimal supplies and just a moderate tolerance for weird looks from your fellow passengers, you too can have the cleanest seat on the plane. Here’s how to get there.
Pack Disinfecting Wipes
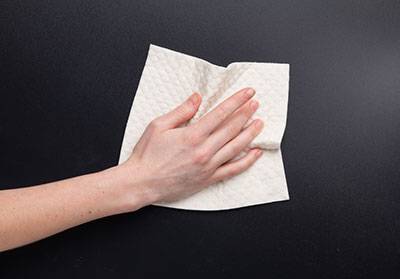 You’re going to need to plan here a bit and score some disinfecting wipes before you get on the plane. You can opt for a familiar brand name like Clorox Disinfecting Wipes, which come in handy packs of nine or 15. Note that these have a pretty intense scent (the lemon is not what I’d call “good lemon,” and whatever the green package scent is smells a bit like a freshly cleaned public bathroom). You can also get medical-grade disinfecting wipes with a milder scent, or, in a pinch, you could use wipes primarily meant to disinfect hands rather than surfaces, such as Purell Individual Sanitizing Hand Wipes (which also come in travel packs). Get Your Wipes Out as Soon as You Board.
Packing wipes is only half the battle. Once you’ve boarded, you’ll need to overcome your aversion to creating a minor spectacle as you stow your gear, whip out your wipes, and get disinfecting. If it helps, you can pretend that those are stares of envy at your traveling prowess rather than garden-variety side eye.
There’s a right way to use disinfecting wipes, and many wrong ways. To do it correctly: Wipe down all hard, nonporous surfaces thoroughly. Make sure you read and follow the package instructions about how long the surface needs to stay visibly wet. This ranges from about 30 seconds to four minutes. This is when the germ-killing magic happens, so you can’t rush it. Note that this means you’re going to be provisional for a bit longer before you settle and make yourself comfortable. Kidding: Everyone knows you’re not going to be comfortable on the plane. But at least you can maybe emerge illness-free.
But What About Upholstered Surfaces
 Don’t use disinfecting wipes on upholstered surfaces: It won’t work and it will make the fabric wet, which creates a whole separate problem. If you’re concerned about exposure to germs on fabric seats, you can pack a disposable airplane seat cover; or, if you want to minimize waste, get washable and reusable seat and tray table covers. There are also smaller disposable covers that cover just the airplane tray or the headrest.
Bonus PSA About Seatback Pockets
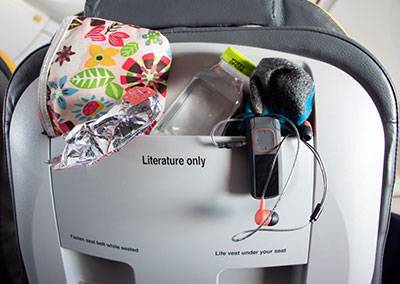
No pocket needs a protector like the airplane seatback pocket, home to one of the airplane’s highest concentrations of germs. If you’re one of those travelers who uses this pocket to stash your water bottle or extra snacks in the seatback pocket, just please don’t ever again. Until some genius (you perhaps?) invents a disposable liner for the seatback pocket, opt for a seatback-pocket replacement accessory like the Flight 001 Seat Pak (I’ve had mine for nearly 10 years and swear by it) or Genius Pack’s High Altitude Flight Bag, which both hang from the seatback tray toggle.
* Perfection Cleaning does not guarantee or warranty any suggested cleaning methods. Use at your own risk.

 admin
admin 